Log in to start a thread on this case
| The lil Green Meanie -- By ThePope |
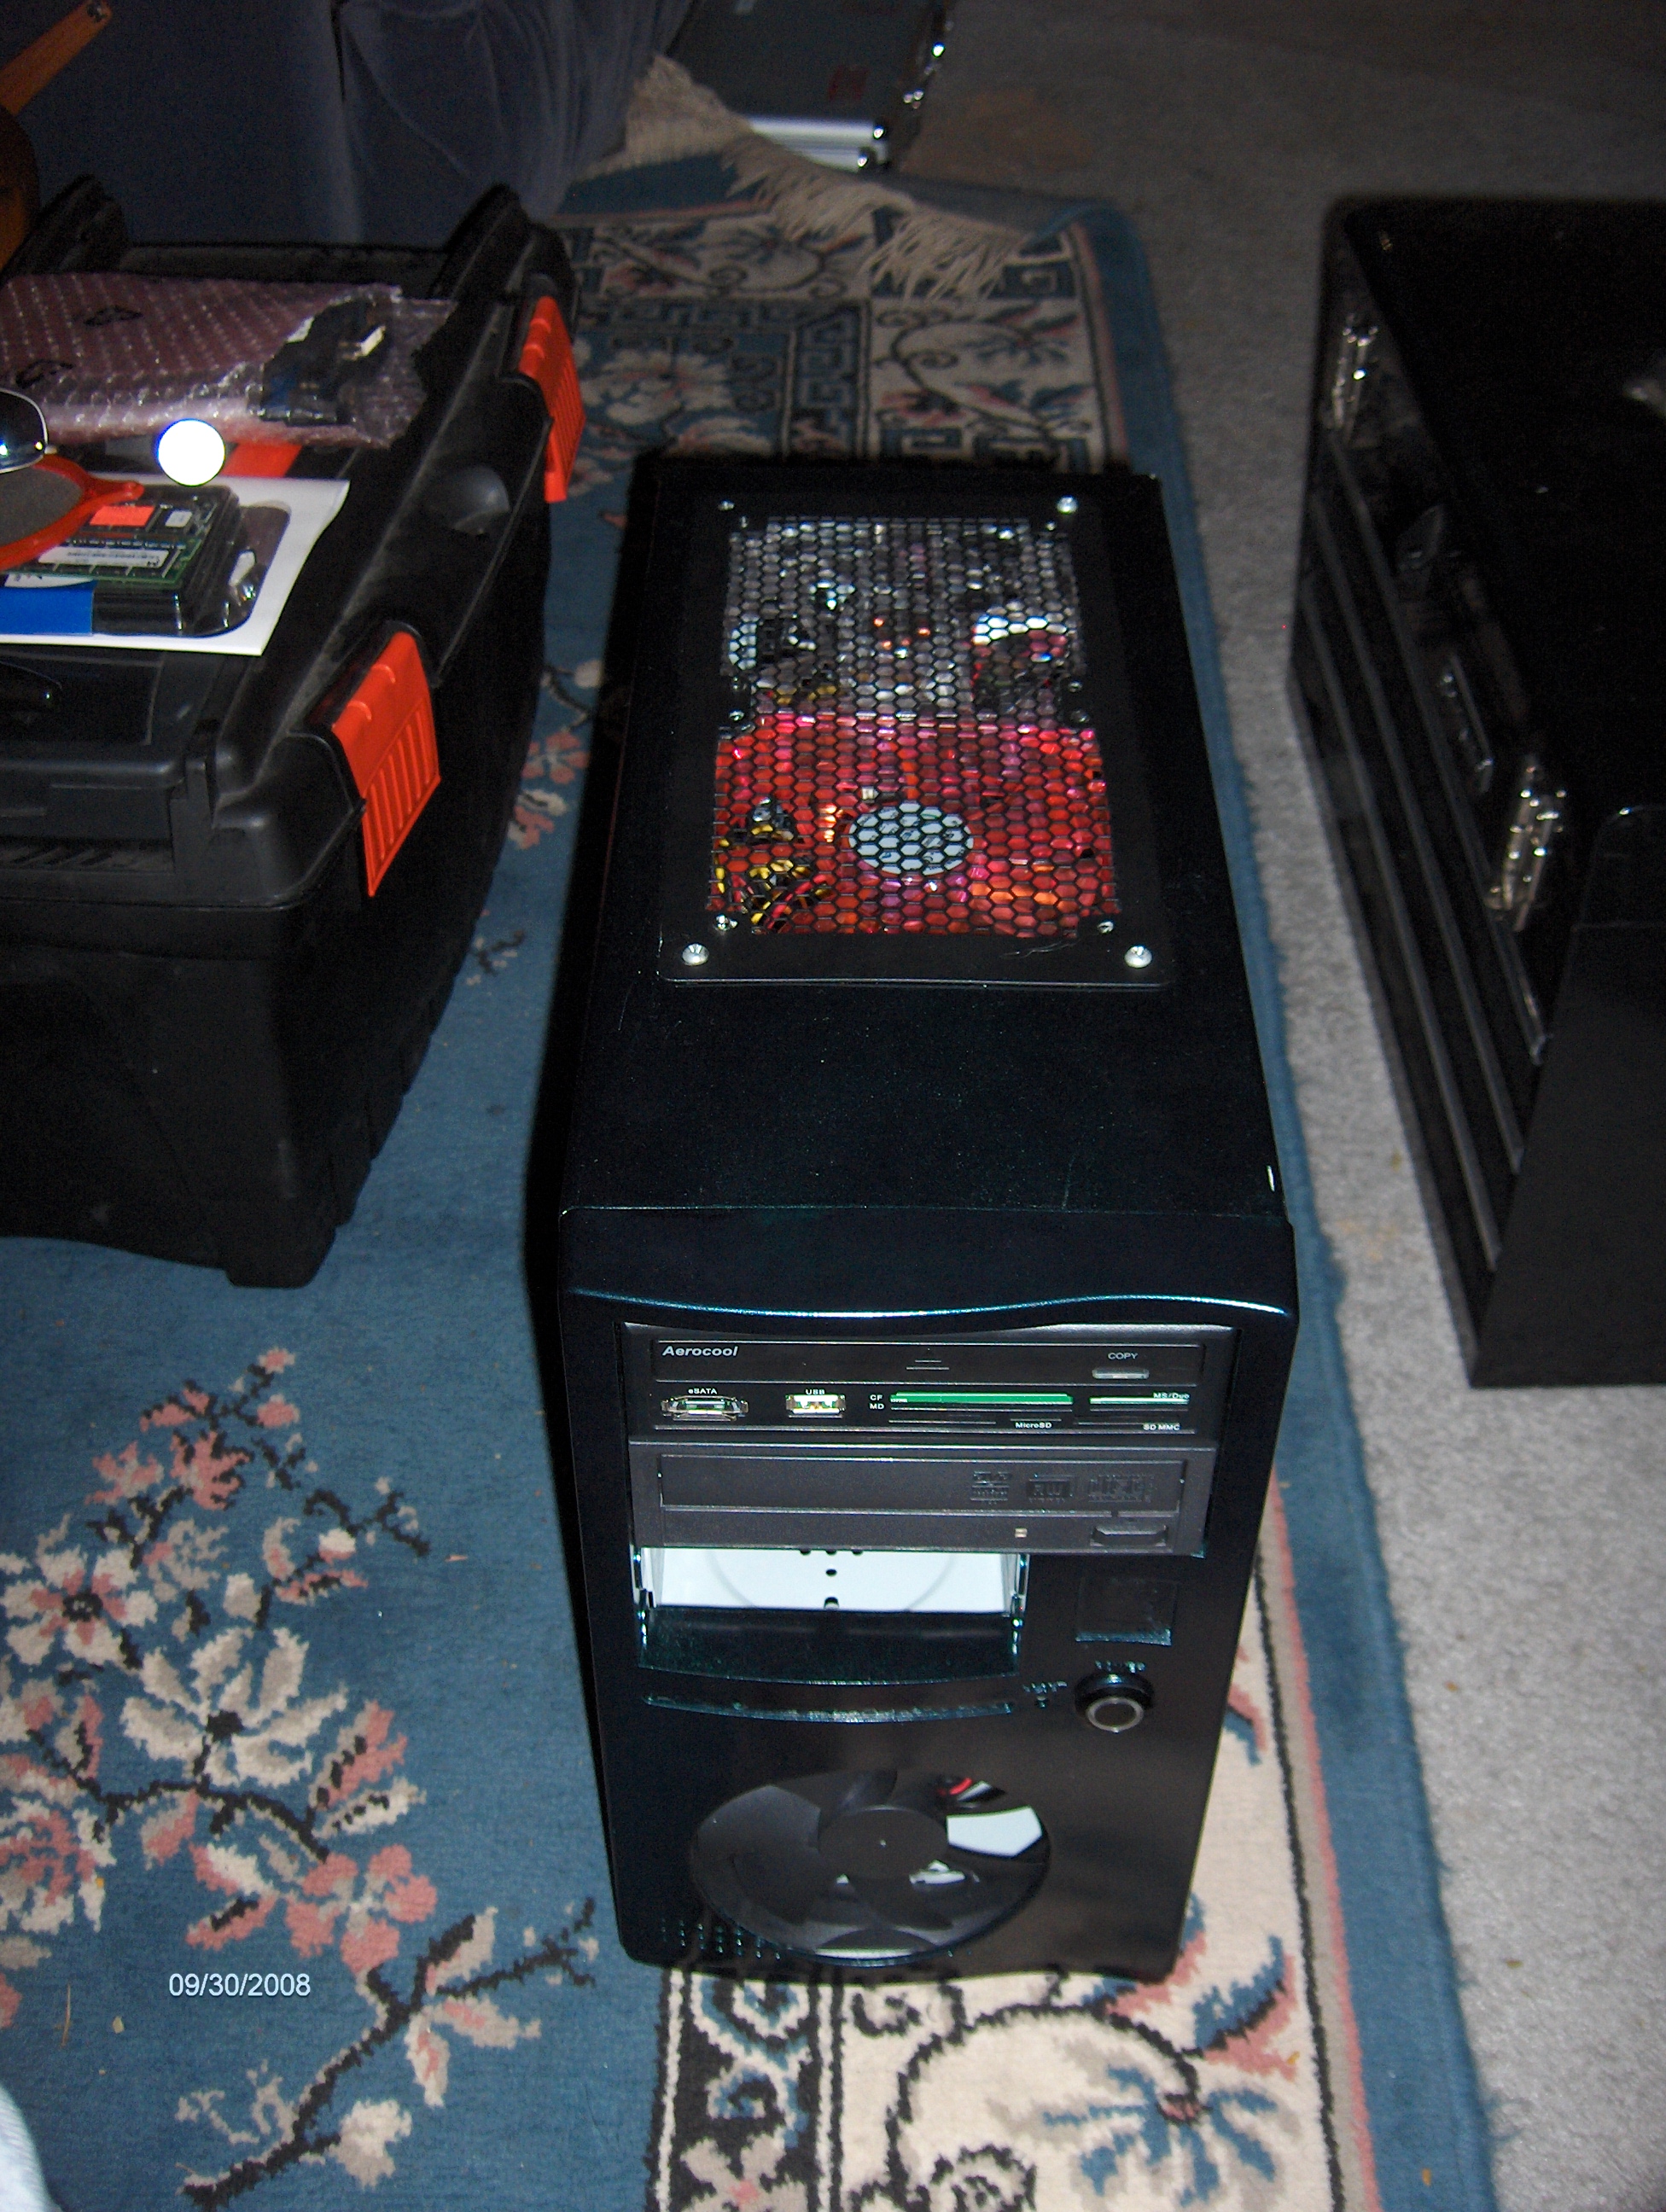
All time favorite custom case. the paint on this cost me more than anything else =]
this originally was either a hp or gateway mAtx case.
it had NO ports.
i cut two 120mm fans into the top of the case, which oddly opened by removing both sides and the top at once. the front had exactly enough room for another 120.
this looked great i didnt even need to bondo or anything i simply cut the hole with a 4" hole saw, and then lightly sanded the aperture.
next i had to totally rework the psu, being that i had just hung those fans in the way, i had to remove the psu from its box and sort of make it fit =]
the internal side of the rails that held the psu got cut open, and were hollow so i used the to run the wires through.
sadly, i sold this rig. i cannot get any new pics of it. it was a great little case, and i sold it what i consider empty, only had opticals, a custom psu, and fans and lights, and a four fan controller occupying the only 3.5 bay. all fans were originally installed any color for faceless's case mod contest, but after some time i got all greens ones from oxide and it looked GREAT!~ |
| | | |
| TOP SIDE, AGAIN I CANT GET THE PICS WITH THE GREEN FANS, AND ITS TOO BAD IT LOOKED SICK | prior to paint you can see i had markings everywhere, ya do what you have to do though! you can see in this how the fans sit almost interior the psu's opened box | step one mark, then measure, then measure again lol. then cut. | looking forward inside the case you can see how i was originally supposed to put an 80mm interior, but i fit the 120 between the exterior of the case and the cases faceplate, and opened a hole large enough inside for the air to really flow. the most amazing part is that once i installed the fan there were tabs from other parts not being used that held the fan in place between the case and the bezel. insane luck. |
You must be logged in to vote on this PC
